by Dan Trew.
It’s that first big spring trip of the year, and you’ve just settled down after a day out in the backcountry. Tonight’s dinner of chicken and rice is sure to be excellent, and you can’t seem to stop salivating. Only problem? Your stove is a sputtering mess and won’t hold a flame to save a candle. A little spring maintenance on your stove is all it takes to prevent a dinner catastrophe.
Before heading out on your trip, it is good practice to fire up the stove at home and ensure it works properly. This becomes even more crucial if you haven’t used your stove since before winter. Early spring is the perfect time to get out your stove and get it ready before you set out on your first adventure for the springtime. You can even use this test run as an opportunity to try out some new Mountain House Camping Meals and test your pots.
Spring maintenance can be as simple as brushing off some carbon build-up or replacing every o-ring in a cook system. Doing these things at home is much easier than trying to perform them in the field, and that still assumes you have the required parts with you. Regular maintenance of your stove can help prevent demoralizing consumption of uncooked meals and costly replacements of key components. The cost of replacement pump for the MSR Dragonfly is around $35, while the cost for a regular maintenance kit is only $15. Not to mention, the kit has parts for two stoves, so you’re sure to get your money’s worth.
Most camping stoves fall into three categories: solid, canister, and liquid fuel stoves. The large majority of stoves are deceptively simple in their construction and most have little-to-no moving parts. With a careful eye for detail and the stove’s repair or maintenance guide at your side, working on your cook system is easy.
The easiest maintenance for stoves is the solid fuel variety. Often times this is just making sure the stove itself is able to unfold and isn’t cracked anywhere. These stoves tend to build up carbon deposits (the black dirt that gets all over your hands when you handle the stove), and an old toothbrush and some water will generally clean all of it off. This can leave you with a shiny new-looking stove that won’t leave your pack and hands a mess.
With solid fuel stoves, chemicals like ammonia and formaldehyde are produced when cooking which often adhere to the bottom of pots. The residue, while not a risk to the food in the pot, could rub off while in storage and could be harmful if ingested. Preventing accidental consumption of the chemicals is as easy as rinsing off the bottom of your pot. However, as part of good Leave No Trace practices, rinsing off your pots in a stream or other body of water is typically discouraged. Regular cleaning can help prevent the need for carrying embalming chemicals with you. The build-up occurs over the use of multiple tablets and is rarely an issues over a weekend.
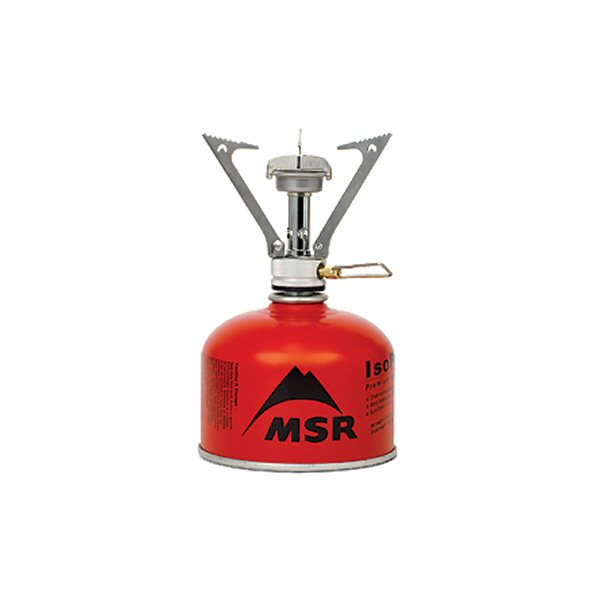
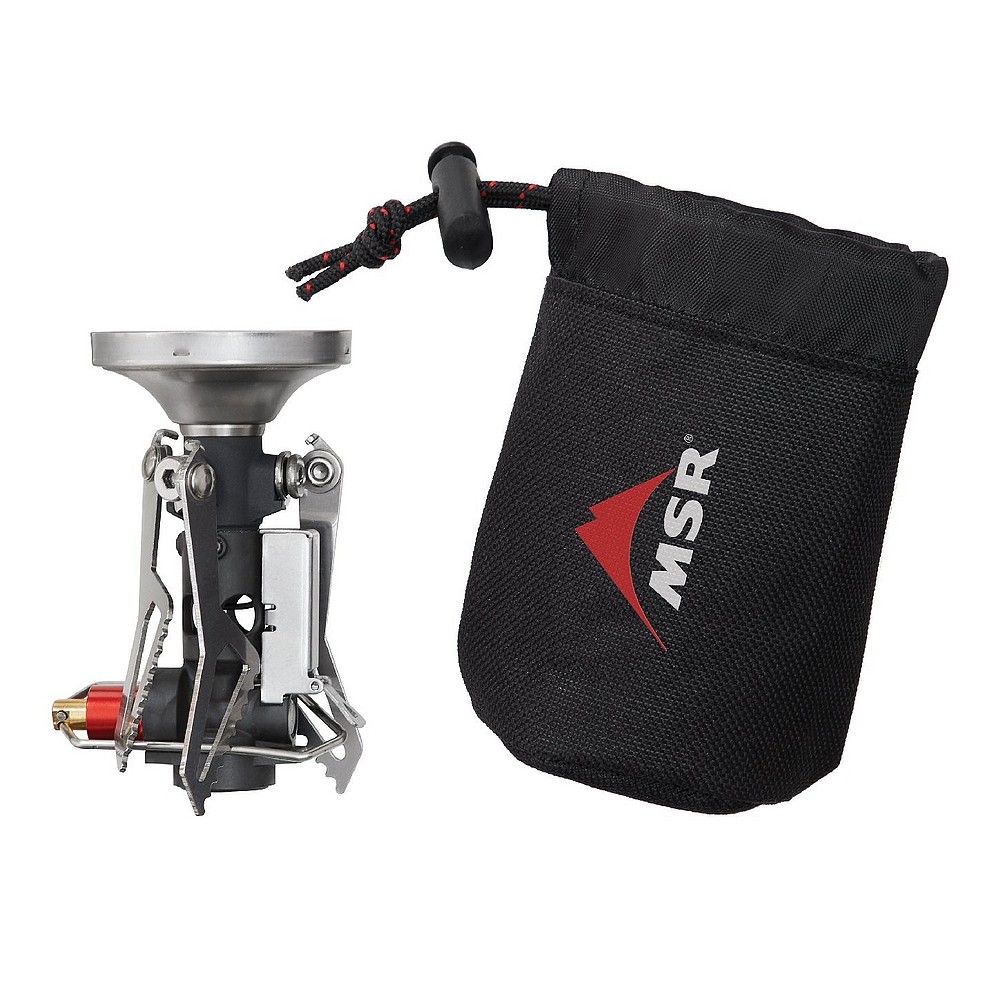
Canister stoves are the most dynamic since there are sub-classes that relate to where the canister is during the cooking process. The lightest stoves sit directly on top of the canisters and cook everything in a vertical alignment (PocketRocket or Optimus Crux). The more feature-rich canister systems use a remote fuel system that places the canister well away from your pot and flame(Optimus Vega, MSR WindPro II). The most complex systems utilize pressure regulators and mated-cookware to achieve high performance, but at the cost of increased or more complicated maintenance (JetBoil Sol, MSR Reactor). The common check to perform on all canister stoves before your first big trip is to ensure the connector to the canister is clean and replace any o-ring on the connector that is hard or cracked. Dirt or a bad o-ring can cause dangerous fuel leaks and poor performance from your stove. To remove dirt a simple rinse in water should do the trick; to remove a tough o-ring, apply a little mineral oil. If the o-ring is missing or cracked, you’ll want to pick up a maintenance kit and replace the o-ring with a new one. While rare, damaged threads on the connector of the stove are typically outside the general realm of user-maintenance, so you’re better off sending the stove back to the company for repair or replacement. Regular maintenance on the connector of your canister stove will greatly improve the life and performance of your cook top.
The lightweight category of canister stoves often invoke little more than the connector and a burner. Some, like the MSR SuperFly, use a piezo igniter to light the stove. In all cases the stoves build up carbon on the bottom of the pots and on the burners. Carbon can clog burner vents and absorb heat from the stove preventing your food from being cooked at its optimum rate. The trusty toothbrush-and-water combo takes care of this pretty well, but in the case of stubborn carbon deposits, oven cleaner or other products work well. A dirty burner or igniter will prevent the all important spark from occurring. However, if the surfaces are clean and the spark still does not occur, the spacing may have become too great and a gentle adjustment can bring the igniter and burner closer together.
Remote canister stoves present their own series of components and vary from manufacturer to manufacturer. While all remote canister stoves benefit from cleaning the burner and connector, stoves like the WindPro II have actual nozzles that control the flow of fuel from the fuel line to the burner head. These nozzles can become clogged from use or dirt and need to be cleaned regularly. This is a more involved process and should be done carefully and ideally at home. Cleaning instructions for specific nozzles can be found easily either via the manufacturer’s website or by asking a helpful Appalachian Outdoors employee for assistance. As a general rule it is a bad idea to force things such as needles or other hard metal objects through the nozzles to clean them out. This can widen the nozzle and alter the fuel to air mixture, causing the stove to run too rich and leave excess carbon buildup. However, using a needle to remove residue and other obstructions from around the nozzle itself is a good idea. If the stove is very dirty or an unseen obstruction is clogging an essential portion, soaking the entirely disassembled stove in gasoline or readily available cleaning agent will help break apart any clogs or deposits.
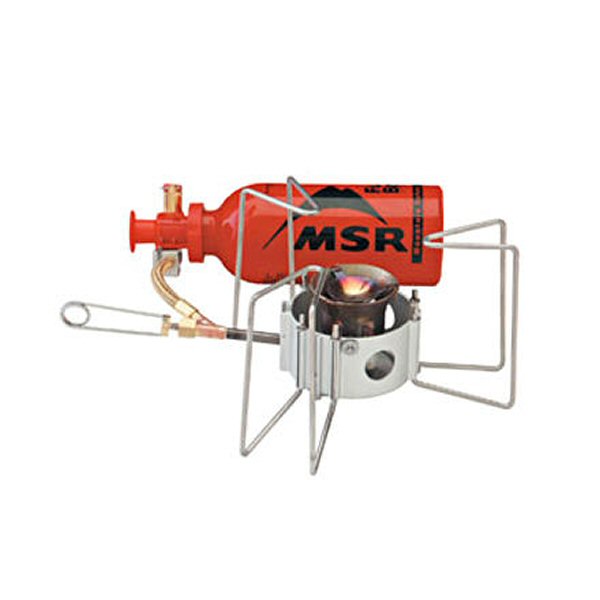
Liquid fueled camping stoves are the most versatile stoves, but require significant maintenance compared to solid or canister stoves. These stoves use pumps and manually pressurized containers to provide the required fuel flow. The burner portions of the stoves are nearly identical to the remote canister field stoves, so you can follow the same rules for cleanliness and performance. However, these stoves tend to produce significantly more carbon deposits due to their warm-up and priming stages. As before, a toothbrush and some water will get most of the carbon deposit, but the deeper, baked-on build-up requires a little more elbow grease. A good rule of thumb is to thoroughly clean your stove’s burner after you have used one full bottle of fuel. This is especially the case after the use of particularly dirty fuels such as kerosene or diesel are used in your stove.
The fuel line from the fuel bottle and pump to your burner can become clogged if old fuel is left to evaporate in it or the fuel has dirt or other impurities in it. Most liquid stoves come with a way to clean out this line already in place, so be sure to consult your specific maintenance manual from the manufacturer.
The pump and fuel bottle are the most difficult areas to work on. The pump has all of the o-rings and seals to worry about, and while very simple in construction, it can malfunction in a variety of ways. Old and cracked o-rings are the most common offenders and can result in poor pressure buildup or spurts of fuel jumping out from the joints in your pump. Cold winter weather is killer to the rubber o-rings and can cause them to crack or split. Unfortunately, there isn’t really a solution to a cracked o-ring besides replacing it. This can be avoided by keeping the o-rings well lubricated with mineral oil and frequently checking up on them. You can check a pump’s performance by placing your finger over the outlet and giving a few good pumps. You should feel the pressure push your thumb off of the opening. While you’re there with the pump, you should make sure the fuel filter is attached and clean. Missing fuel filters can let dirt into your stove’s burner resulting in clogs, while dirty fuel filters can prevent the flow of fuel into your stove completely. The final check on your pump should be to make sure that it sits properly on your fuel bottle and is not cross-threaded. Remember: you should never have to force the pump onto the bottle.
If you have performed your spring maintenance on your stove and you still find that it is malfunctioning, feel free to bring the stove into Appalachian Outdoors, and we will gladly help you troubleshoot the problem. Most companies offer a lifetime warranty on manufacturing defects in their cooking sets and many offer extensive cleaning and repair options for non-warranty issues.


Thank you for this useful information! I may be able to rejuvenate my 20-year-old Omni-fuel stove before having to invest in a new one.
It’s good to know that liquid-fueled camping stoves are versatile but require a lot of maintenance. My uncle and I are planning on going on a camping trip this summer, and I want to find something that can keep our camping stove protected. It might be a good idea to look online for a camping stove cover to keep it clean and secure.