By: Bart Beck
Now that we’ve talked about getting the proper backpack fit, we can discuss packing the backpack properly. If you haven’t read that blog, I would suggest checking it out first, as it’s a good set up for what we will be discussing here. If you have read that blog, this follow-up will ensure that all of the time you put into fitting your pack wasn’t wasted, because the perfect pack does not necessarily equate to the perfect feel and the perfect hike.
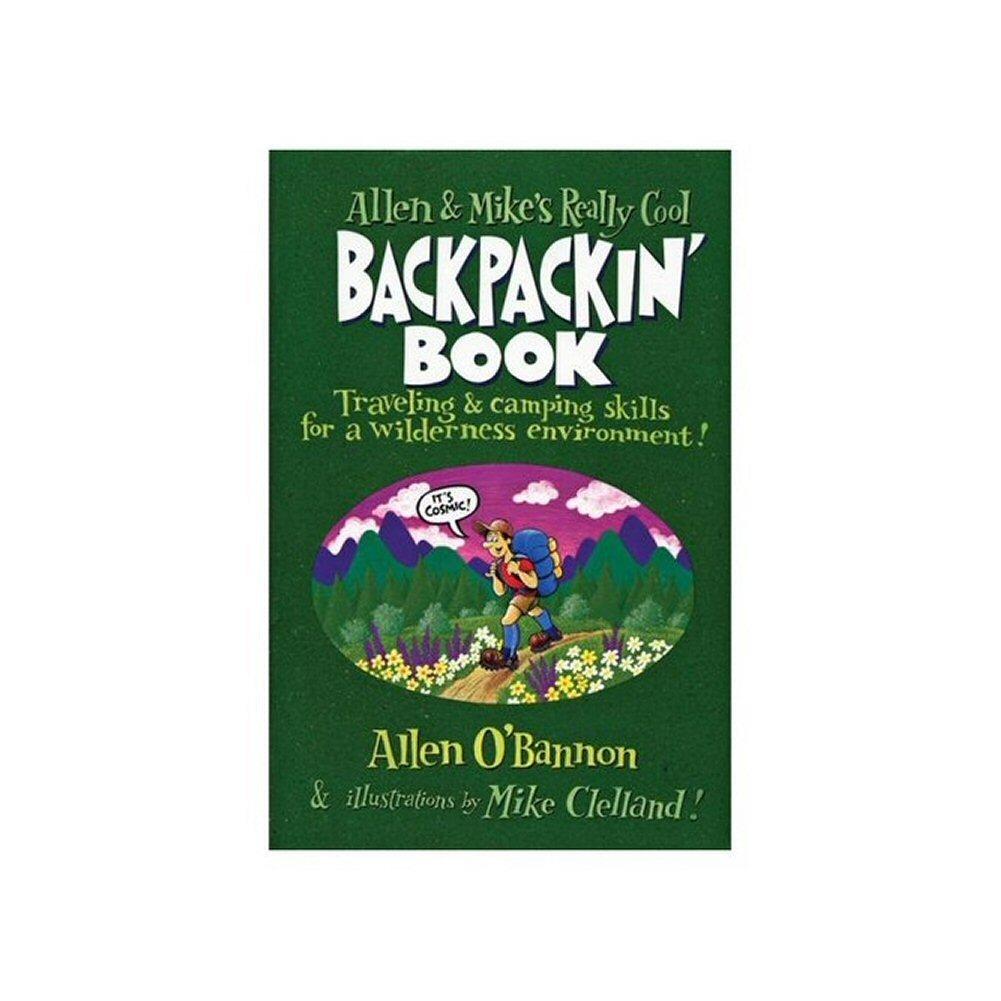
To make this go a little easier, I’m going to borrow a scheme from Allen & Mike’s Really Cool Backpackin’ Book. They call this scheme the “ABCs” and it is a quick and easy way to remember important aspects of packing your bag. These aspects are “accessibility, balance, compression, and streamlined.” Remembering these will help make packing quick and efficient. As you gain trail experience, these will become second nature actions that you’ll barely have to think about.
The first aspect is ACCESSIBILITY and this can easily be overlooked, especially for the first time backpacker. The main premise of this concept is that you want to be able to easily get to the items that you’ll be using more frequently. Think water and snacks; if every time that you want a Clif Bar or a drink of water you have to stop and take off your pack, your trip will be slow and you’ll be annoyed. You’ll quickly learn to put these items where they are easily reached without stopping. Fortunately, backpack designers often know how important this is and incorporate into their packs.
Modern packs come with many design features that will make accessibility easy and convenient. One prime example of this is a waterbladder. Almost all modern packs come with waterbladder and hose compatibility, making hydration an on-the-go-activity. Along with that, most packs will also have water bottle sleeves on the sides of the pack. To accompany your hydration, you may want a snack, luckily, many companies place small pockets on the hip pads; these are perfect for bars, gummies, and other small necessities such as lip balm. For larger items you may need to access throughout the day, packs will have multiple pockets such as side, brain (the top compartment that acts like a lid), and front pockets. Knowing that you’ll want quick, easy access to items you use frequently, you’ll also realize that items you don’t need can often be buried with little consequence. A good way of practicing this is by packing those items first. While you decide where things will go for accessibility, you’ll also want to consider where things will go weight wise.
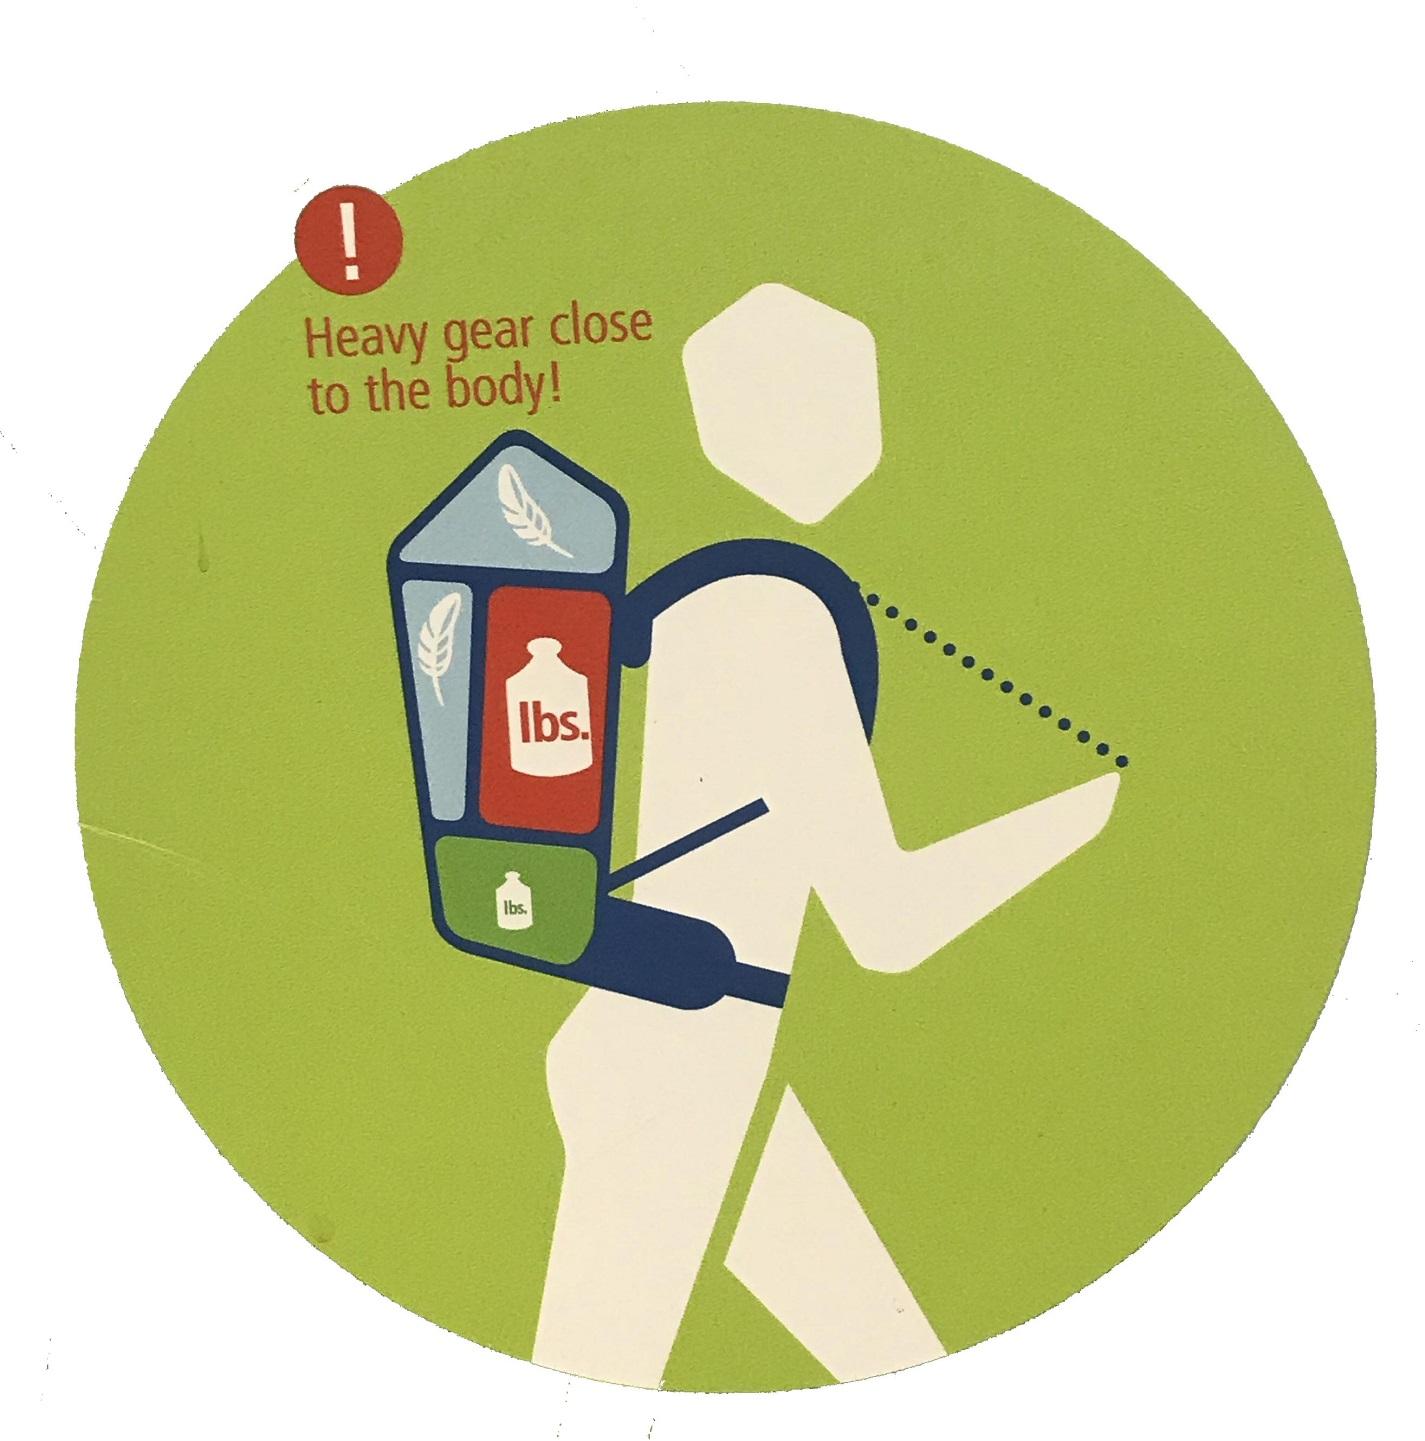
Weight distribution, or BALANCE, is the keystone of making your pack feel good on your back. If the weight of your pack is too high, it will feel like the pack is pulling you backwards. If the weight is too low, you’ll feel like you need to lean forward to keep the pack on your back. The real key to get the weight correctly distributed is keeping it centered and close to the back (refer to image below). You’ll also want to make sure you are balanced side to side, otherwise you’ll constantly feel like your pack is pulling you to one side, and at the end of the day, your body may feel as though it is off balance from having to compensate all day. With the position of your items all decided in regards to accessibility and balance, let’s make sure all of those things stay in position.
As we discussed before, all the pockets and compartments will help with this, however, what is going to help the most is COMPRESSION. On the outside of your pack, you’ll usually find a multitude of straps that can be used for compressing all of your gear so that it doesn’t shake and reposition throughout the day. Some tips for making the most of the little space you’re allotted is to pack items inside of items. Stoves and fuel canisters can be packed inside of pots; socks and underwear can be packed inside of bowls or mugs (clean, of course), etc, etc. You’ll also want to ensure that you have no dead space. If you’re finding that your pack is looking bulgy once cinched down, use soft items to fill the dead space. Clothes, towels, and sleeping bags are perfect for squeezing into all that dead space. All of these acts will make the most out of all those liters that the pack company advertised and it will ensure that everything stays right where you put it.
Many people do make use of all their interior space and then begin to make use of exterior space as well; however, you’ll want to remember to stay STREAMLINED. Have you ever seen people walking down the trail with what looks like a yard sale on their back? Not only is this a hideous way of carrying your gear, it’s also inefficient. These items are prone to shifts, snags, and falls, all are a headache when backpacking. Items you pack on the exterior should be limited to only the things that must be placed there or items that are placed there for accessibility purposes.
Some of the items you often see on the outside of a pack are sleeping pads and trekking poles. If your sleeping pad is too large to fit inside, you can place it on the outside, however, you’ll want to place it in a way that doesn’t snag the vegetation along the trail. If it is a wide pad, consider packing it vertically. Trails such as Pennsylvania’s Mid-State Trail can be narrow and lined with thorns, so the thinner you can keep your pack the less likely these things are to become a hindrance. Trekking poles and similar items such as ice axes , and umbrellas, if you’re carrying one, are often placed on the outside for accessibility. Most packs will have straps for items such as these that make streamlining and access easy. If your pack doesn’t have these features, consider tucking them into existing compression straps. If the only way to do this reduces accessibility, consider asking a friend for help, there’s no shame in that. All of this will add up to keeping your gear compact and snag-free. There’s nothing worse than losing an item on your hike or getting pulled off balance. Ensure this doesn’t happen by staying nice and streamlined and asking trail friends to get items off your pack when necessary.
Once you get through the ABCs, throw your pack on. Once on, adjust your hip pads (they should be resting on your iliac crest), followed by the load lifters above your shoulders, and finally, the shoulder straps. This order will help you get the pack situated correctly. If it doesn’t feel right, try minor adjustments to those straps. If it’s still not feeling right, take it off and reconsider those ABCs with emphasis on the balance. You’ll be happy to test this out before getting on the trail.
Following the ABCs and these tips will make your pack feel better and will lead to a more enjoyable experience. So, in recap, the ABCs are “accessibility, balance, compression, and streamlined.” Think about these fundamentals when you first start considering gear for a planned trip. If you have questions about following these basics, talk to an experienced backpacker or check out your local backpacking store. At Appalachian Outdoors, there are plenty of gurus who are willing to share their knowledge and tips that they’ve accumulated over the years. In most cases, they’re even willing to give you a proper shake down, with a little bit of notice. I would also suggest getting the book Allen & Mike’s Really Cool Backpackin’ Book, it is easy to read and has a lot of other useful information in it. The most important things to keep in mind when packing for your trip is to experiment and have fun! All the tips are just some ways of getting you to that ultimate goal.